
")


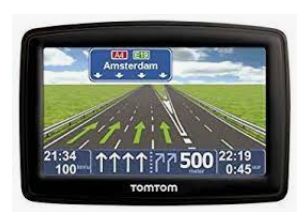
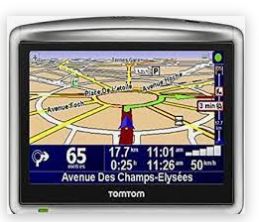
Tutorial for installing 4GB MicroSD Card on TomTom One XXL and One XL
60 MB - Cloud Mega
Although there are various pictures, guides, etc. on the net. in order to add a microSD card to TomTom ONE XL or XXL (devices with 2GB memory), I thought that it would be good to have this guide explained here with the necessary additions and problems encountered when converting this devices.
This tutorial is for people who have TomTom ONE XXL or ONE XL with 2GB of memory and want to convert it to 4GB so they can add the full map of Europe or to switch the device to truck navigation software that has only the full map and doesn't fit in 2GB.
The tutorial requires knowledge of electronics and a lot of attention.
We need:
1. A 4GB microSD card (exactly 4GB, preferably one with maximum class 10, not HC1). It can be done with other larger cards, I also succeeded with 8GB but you have to follow a few aditional steps before installing the card, steps that I will add at the end of this guide.
2. Soldering tools (letcon, flux, fludor, etc.).
3. The NavCore Automatic program (I prefer this one, it always worked perfectly every time). It can be downloaded here: LINK1
4. Cigarettes, a beer and a lot of patience.
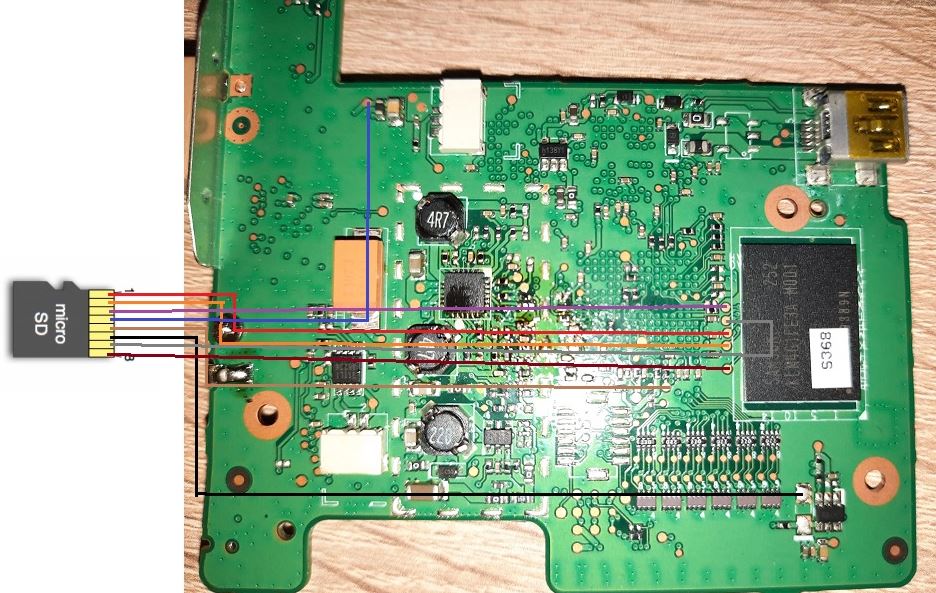
If you have a 4GB card and bootloader 5.5128 MINIMUM , you can switch directly to the soldering part, which is done according to the picture below. Between TomTom One XL and One XXL there are some differences in the placement of the parts and pads on the board, but with some extra attention soldering the wires is done in about the same places.
To check the bootloader version, open TTGO.BIF in the device memory. There must be a row BootLoaderVersion = xxxxx (xxxxx must be at least 55128).
If you do not have bootloader version 5.5128, it must be install it from here: LINK2
Copy the "system" file from the 5.5128 archive to the device's memory, turn it on, and wait a few seconds for the installation to complete. To check if the installation was successful, check again in TTGO.BIF.
The card must be FAT formatted. Definitely !
Picture of the connections on the board:
If all goes well, when you connect the cable to the device, your 4GB memory should appear in My Computer.
Restore the device software to 4GB of memory with the NavCore Automatic program by selecting what interests you from there, Truck XL or 9.510 XL.
Map and activation copying tutorials are everywhere on this forum and on the rest of the internet.
On some devices it won't see the card if the NAND is also connected. You can remove it with a heat gun. If the microSD is ok and the solders are good, you can't damage the device. I took this risk once and it worked.
I tried two devices with 8GB cards. One saw the card with all of it's capacity, one did not see it at all. Regardless of the bootloader. That's why it's better to use 4GB microSD from the beginning.
If you still don't have a 4GB card and want to insert an 8GB card and make sure it sees it, follow these steps:
1. Insert the card into the PC / laptop.
2. Open Start -> Run or Start-> Search and type cmd.exe and open with admin privileges (right click - Run as Administrator).
3. In the cmd write "diskpart". A new window will open.
4. In the new window that opens, type "lisk disk". A list like the one below will open.
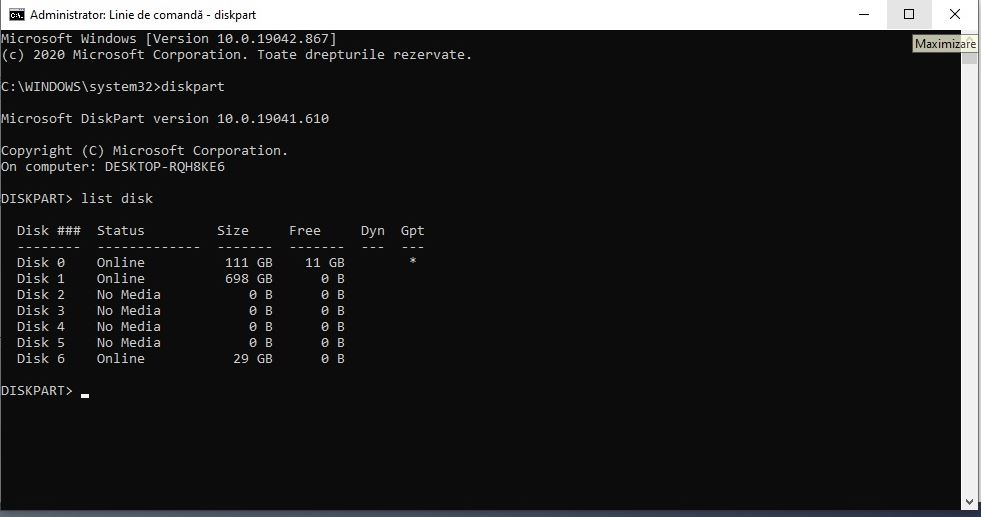
5. Look for the card in the list. It is usually among the last, mine is a 32GB one, Disk 6.
6. Write "select disk x", where X is the number from the list that belongs to the card. (ex: select disk 6).
7. Write "clean". A message "DiskPart succeeded in cleaning the disk." should appear.
8. Type "create partition primary size=4000". A message "DiskPart succeeded in creating the specified partition." should appear.
9. Type "assign". "DiskPart successfully assigned the drive letter or mount point." should appear.
10. Now when you enter "My Computer" you will see the card but with a capacity of 3.9GB.
11. The card needs to be formatted in FAT !!!!!!!
This tutorial is also good if you only have large cards and other devices that want to read only FAT formatted cards and you're at night and you have nowhere to get a 4GB one. This process creates a 3.9GB partition from the total size of the total card.
Good luck!

* Comment obtenir le lien de téléchargement ?
* How do I get the download link?
 viewtopic.php?f=222&t=9976
* Vous êtes un visiteur? Comment s'inscrire sur ce forum
* You are a visitor? How to register on this forum
viewtopic.php?f=77&t=296